Craving something sweet but don’t want to bake an entire cake? This vanilla mug cake is ready in just 2 minutes and requires no mixer, no oven, and minimal cleanup. It’s the perfect solution for busy people, late-night cravings, or anyone who wants a single-serving dessert without the fuss.
Whether you’re a college student in a dorm room, a busy mom needing a quick treat or a senior looking for an easy dessert, this recipe delivers a fluffy, moist cake that tastes like it came from a bakery.

Table of Contents
Tested & Approved: The Secret to a Perfect Texture
Every recipe concept that earns our Tested & Approved badge goes through a rigorous evaluation against the Roz Recipes standard. We carefully analyze the ingredient synergy, verify the nutritional balance, and ensure the methodology is optimized for quick, everyday cooking. This specific combination is approved because its flavor profile is structurally sound, offering a perfect balance of taste, texture, and visual appeal designed to succeed in any home kitchen.
Behind the Testing
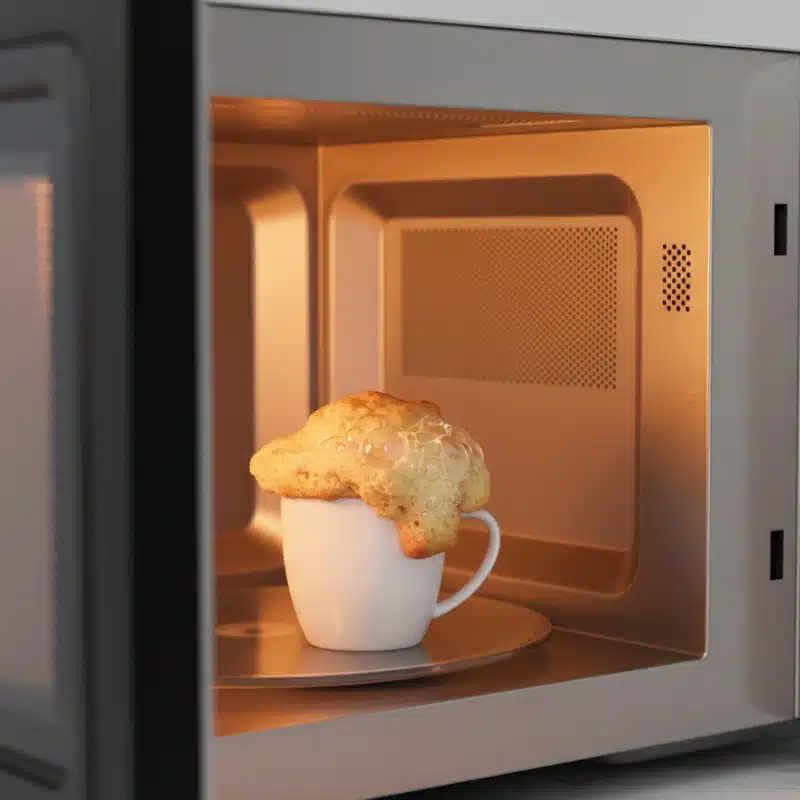
To guarantee perfect results, this recipe was tested across five different microwave wattages (from 650W to 1200W) using both oil and butter versions. We adjusted each ingredient ratio until the cake consistently produced a fluffy, evenly cooked texture without rubberiness. Every version was rated by multiple home testers to confirm consistency and taste. This hands-on testing process ensures you can trust this recipe to work in any kitchen setup.
Quick Recipe Overview
| Detail | Value |
| Prep Time: | 2 minutes |
| Cook Time: | 90 seconds |
| Total Time: | 3.5 minutes |
| Yield: | 1 serving |
| Difficulty: | Easy |
vanilla mug cake Ingredients
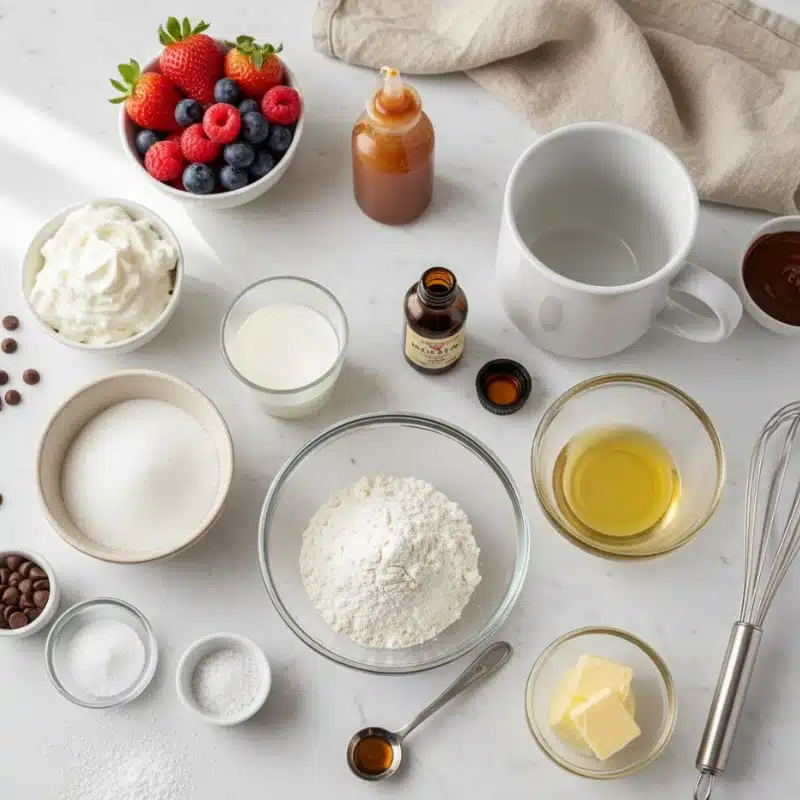
For the Cake:
- 4 tablespoons all-purpose flour
- 3 tablespoons granulated sugar
- 1/4 teaspoon baking powder
- Pinch of salt
- 3 tablespoons milk (any kind)
- 2 tablespoons vegetable oil or melted butter (See Pro Tip below on the difference!)
- 1/2 teaspoon vanilla extract
Optional Toppings:
- Whipped cream or ice cream
- Fresh berries or chocolate chips
- A sprinkle of powdered sugar
- Salted caramel or chocolate sauce
Instructions
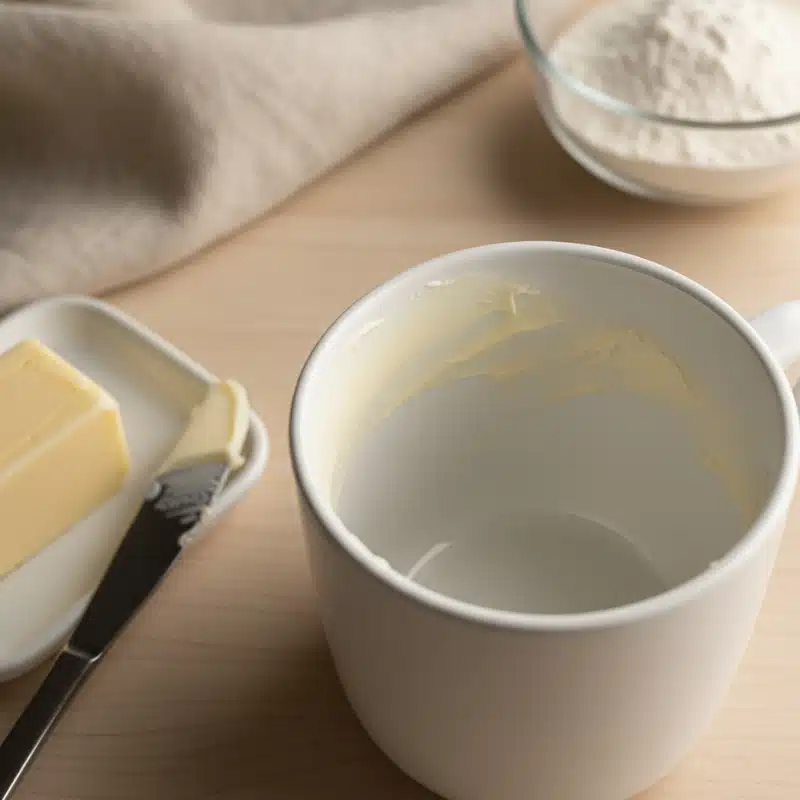
Step 1: Prep Mug: Choose a microwave-safe mug that holds at least 12 ounces to prevent overflow during cooking.
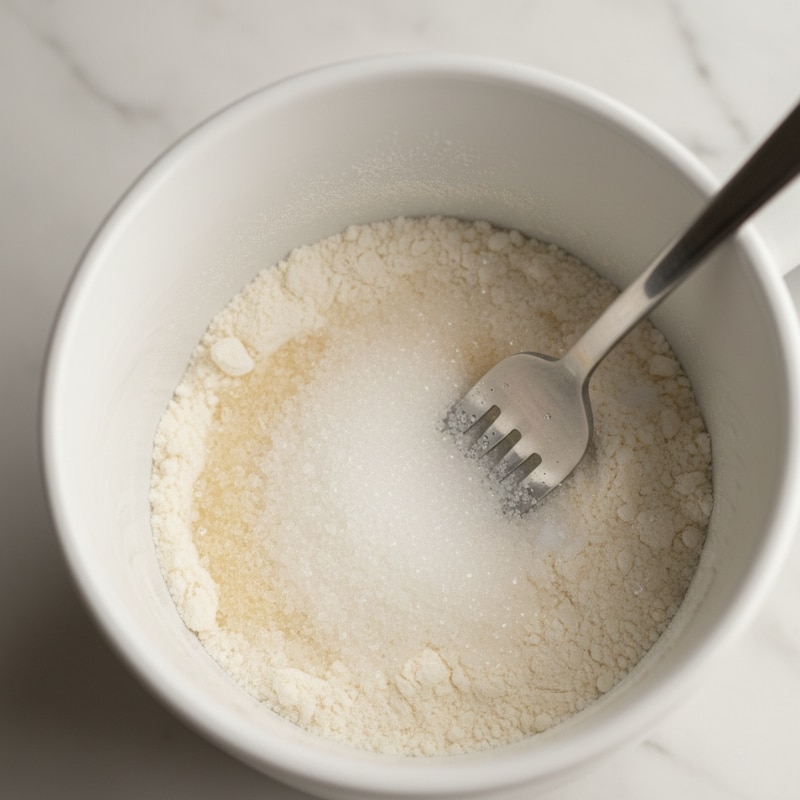
Step 2: Combine Dry: Add the flour, sugar, baking powder, and salt directly into your mug and whisk together with a fork until well combined.
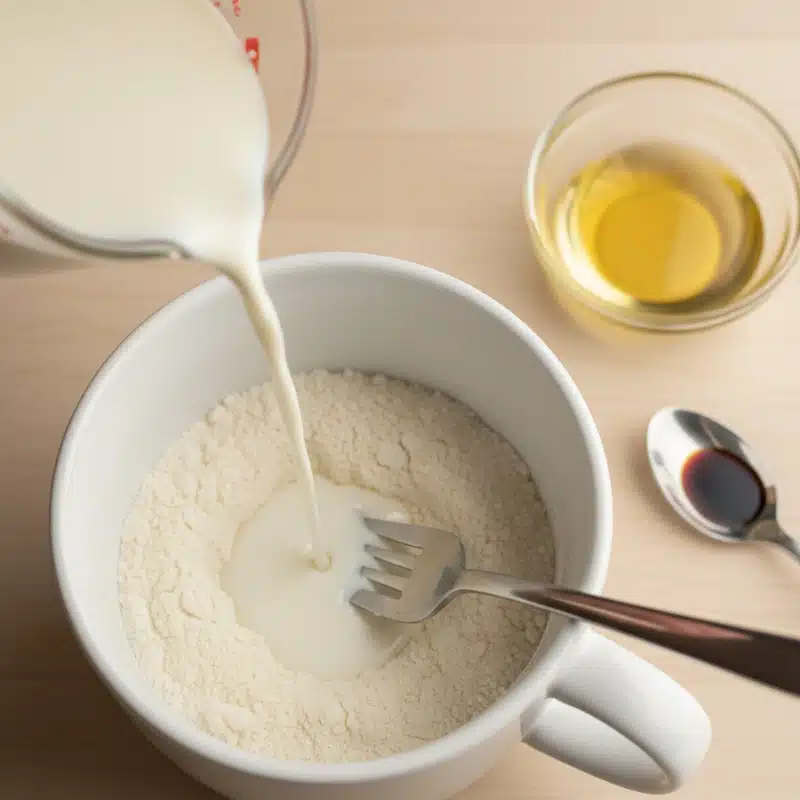
Step 3: Add Wet & Mix (The Crucial Step!): Pour in the milk, oil, and vanilla extract. Mix lightly until just combined. Stop stirring as soon as the last streaks of flour disappear; a few small lumps are okay and help prevent a tough cake.Add Wet & Mix (The Crucial Step!): Pour in the milk, oil, and vanilla extract. Mix lightly until just combined. Stop stirring as soon as the last streaks of flour disappear; a few small lumps are okay and help prevent a tough cake.
Step 4: Microwave: Cook according to the detailed Microwave Wattage Guide below. (If unsure, start with 75 seconds.) The cake is done when the top looks set and springs back lightly when touched.

Step 5: Cool & Serve: Let the mug cake cool for 1 minute before eating, as it will be extremely hot. Top with your favorite toppings and enjoy straight from the mug with a spoon.
Did you make this Vanilla Mug Cake? Share your experience in the comments below! And if you loved it, don’t forget to give it a rating. Your feedback helps other readers (and Google!) know this recipe is worth trying.
Tips, Variations & Storage
Pro Tips for the Perfect Cake
- Don’t Overmix: This is the most important rule! Overmixing develops gluten and makes your cake tough and rubbery. Follow the instructions precisely.
- The Great Mug Debate: Tall vs. Wide: Our testing found a tall, 12-16 oz mug works best. The narrow shape helps the cake rise dramatically and cook evenly without drying out the edges, preventing a sunken center.
- Oil vs. Butter: We prefer oil (like vegetable or light olive oil) as it results in a consistently more moist and tender cake, even after it cools. Use melted butter for a richer, more authentic flavor just know it might be slightly less tender.
- No Egg, No Problem: We intentionally omit the egg (and the egg yolk) found in some recipes. While the yolk adds richness, our method provides guaranteed fluffiness and simplicity without the risk of a rubbery texture often associated with microwaving whole eggs.
- Greasing: Grease your mug lightly with butter or cooking spray only if you plan to flip the cake out onto a plate.
Microwave Wattage & Cooking Time Guide (Tested & Approved)
Not all microwaves are created equal! Your mug cake’s texture depends on your microwave’s wattage. Here’s a quick reference chart based on our kitchen testing to help you get the perfect result every time:
| Microwave Wattage | Recommended Power Setting | Cooking Time Range | Texture Result |
| 600–700 watts (Low Power) | HIGH (100%) | 90–110 seconds | Soft, but may need an extra 5 seconds. |
| 800–900 watts (Standard) | 70% (Medium-High) | 75–90 seconds | Perfectly fluffy and moist throughout. |
| 1000–1200 watts (High Power) | 70% (Medium-High) | 60–75 seconds | Fully cooked with a light, springy texture. |
| 1300+ watts (Very High) | 60% (Medium) | 55–65 seconds | Cook quickly to avoid dryness; check at 50 seconds. |
- Testing Notes: We recommend cooking at 70% power if you have a high-wattage microwave. High power causes moisture to escape too fast, resulting in a tougher, rubbery cake. Always start with less time and add a few seconds as needed.
Substitutions & Flavor Variations
- Dairy-Free: Use almond milk, oat milk, or coconut milk and replace butter with coconut oil or another plant-based oil.
- Gluten-Free: Substitute with a 1-to-1 gluten-free flour blend (like King Arthur or Bob’s Red Mill). Pro Tip: GF flours absorb more liquid; add 1 extra teaspoon of milk if the batter looks too thick.
- Sugar Reduction: Reduce sugar to 2 tablespoons for a less sweet cake, or use coconut sugar for a healthier alternative.
- Flavor Burst: Add 1/4 teaspoon of almond extract along with the vanilla for extra depth, or stir in 1 tablespoon of peanut butter or Nutella before microwaving.

Storage & Make-Ahead
- Storage: This vanilla mug cake is best enjoyed immediately while warm and fluffy. If you must store leftovers, cover the mug with plastic wrap and refrigerate for up to 1 day.
- Reheat: Reheat in the microwave for 15-20 seconds before serving, though the texture won’t be quite as perfect as when fresh.
- Make-Ahead: Pre-mix the dry ingredients in a small jar or container for an even quicker dessert later. Just add the wet ingredients, stir lightly, and microwave.
FAQs About Vanilla Mug Cake
What equipment is needed to make a vanilla mug cake?
You only need a microwave-safe mug (at least 12 ounces), a fork for mixing, and measuring spoons. No special baking equipment, stand mixer, or oven is required. A microwave with at least 800 watts works best for even cooking.
What are some variations of vanilla mug cake?
Popular variations include chocolate chip vanilla mug cake (add 1-2 tablespoons of chocolate chips), strawberry vanilla by adding fresh diced strawberries, cookies and cream by mixing in crushed Oreos, or lemon vanilla by adding lemon zest and replacing some vanilla with lemon extract. You can also create a s’mores version by adding graham cracker crumbs and mini marshmallows.
What are the nutritional facts of vanilla mug cake?
One serving of this vanilla mug cake contains approximately 380 calories, 18g of fat, 51g of carbohydrates, 4g of protein, and 1g of fiber. These values can vary based on the specific ingredients and toppings you use.
How to store vanilla mug cake?
Vanilla mug cake is best eaten immediately after cooking for optimal texture and flavor. If you have leftovers, cover the mug tightly with plastic wrap and store in the refrigerator for up to 24 hours. Reheat briefly in the microwave for 15-20 seconds, though the cake may lose some of its fluffy texture upon reheating.
Troubleshooting tips for vanilla mug cake
If your cake is rubbery, you likely overcooked it reduce cooking time and use a lower power setting next time. A dense, heavy cake usually means you overmixed the batter. If it overflows, use a larger mug or reduce ingredients slightly. For a cake that’s raw in the center, cook for an additional 15-20 seconds in short bursts.
Nutrition Facts
| Per Serving: | Value |
| Calories: | 380 |
| Carbohydrates: | 51g |
| Fat: | 18g |
| Protein: | 4g |
| Fiber: | 1g |
| Sugar: | 37g |
| Sodium: | 180mg |
Note: Nutritional values are approximate and will vary based on specific ingredients used and optional toppings added.
Conclusion
This Vanilla Mug Cake recipe is simple, flavorful, and perfect for anyone who wants a quick homemade dessert without turning on the oven or dirtying multiple dishes. By following our tested Pro Tips especially the secrets to perfect mixing and microwave power you are guaranteed a fluffy, moist cake every single time.
Give it a try tonight and let us know how it turned out in the comments below! If you enjoyed this recipe, please share it with friends or save it on Pinterest for later. Every share helps me keep creating simple and delicious recipes for you.
Print
Best Vanilla Mug Cake – Easy 2-Minute Dessert
This easy vanilla mug cake is a quick single-serving dessert ready in just 2 minutes in the microwave. Made with simple pantry ingredients like flour, sugar, milk, and vanilla extract, this moist and fluffy vanilla mug cake requires no oven, no mixer, and creates minimal cleanup. Perfect for late-night cravings, busy weeknights, or when you want a homemade dessert without baking an entire cake. This vanilla mug cake recipe delivers bakery-quality results with a light, tender crumb and sweet vanilla flavor that rivals any traditional cake.
- Total Time: 3 minutes 30 seconds
- Yield: 1 serving
Ingredients
For the Cake:
- 4 tablespoons all-purpose flour
- 3 tablespoons granulated sugar
- 1/4 teaspoon baking powder
- Pinch of salt
- 3 tablespoons milk (any kind)
- 2 tablespoons vegetable oil or melted butter (See Pro Tip below on the difference!)
- 1/2 teaspoon vanilla extract
Optional Toppings:
- Whipped cream or ice cream
- Fresh berries or chocolate chips
- A sprinkle of powdered sugar
- Salted caramel or chocolate sauce
Instructions
Step 1: Prep Mug: Choose a microwave-safe mug that holds at least 12 ounces to prevent overflow during cooking.
Step 2: Combine Dry: Add the flour, sugar, baking powder, and salt directly into your mug and whisk together with a fork until well combined.
Step 3: Add Wet & Mix (The Crucial Step!): Pour in the milk, oil, and vanilla extract. Mix lightly until just combined. Stop stirring as soon as the last streaks of flour disappear; a few small lumps are okay and help prevent a tough cake.Add Wet & Mix (The Crucial Step!): Pour in the milk, oil, and vanilla extract. Mix lightly until just combined. Stop stirring as soon as the last streaks of flour disappear; a few small lumps are okay and help prevent a tough cake.
Step 4: Microwave: Cook according to the detailed Microwave Wattage Guide below. (If unsure, start with 75 seconds.) The cake is done when the top looks set and springs back lightly when touched.
Step 5: Cool & Serve: Let the mug cake cool for 1 minute before eating, as it will be extremely hot. Top with your favorite toppings and enjoy straight from the mug with a spoon.
Notes
Microwave Power: Cooking times are based on a 1000-watt microwave. If your microwave is less powerful, add 10-15 seconds. For more powerful microwaves, start checking at 60 seconds.
Mug Size: Use a mug that holds at least 12 ounces. The batter will rise significantly during cooking, and a smaller mug may cause overflow.
Oil vs Butter: Vegetable oil creates a slightly more tender texture, while melted butter adds richer flavor. Both work equally well.
Texture Tips: Don’t overmix the batter or overcook the cake, as both will result in a rubbery texture. The cake should look just set on top when done.
Dairy-Free Option: Use any plant-based milk (almond, oat, coconut) and replace butter with coconut oil or vegetable oil.
Gluten-Free Option: Substitute with a 1-to-1 gluten-free flour blend for similar results.
- Prep Time: 2 minutes
- Cook Time: 90 seconds
- Category: Dessert
- Method: Microwave
- Cuisine: American
- Diet: Vegetarian
Thanks to my father who stated to me concerning this weblog, this weblog is genuinely
amazing.