Craving ice cream but want something healthier? Banana nice cream is your answer. This naturally sweet, creamy frozen treat takes just 5 minutes to make and requires only ripe bananas as the base ingredient. Perfect for busy parents, health-conscious eaters, and anyone looking for a guilt-free dessert that actually tastes indulgent.
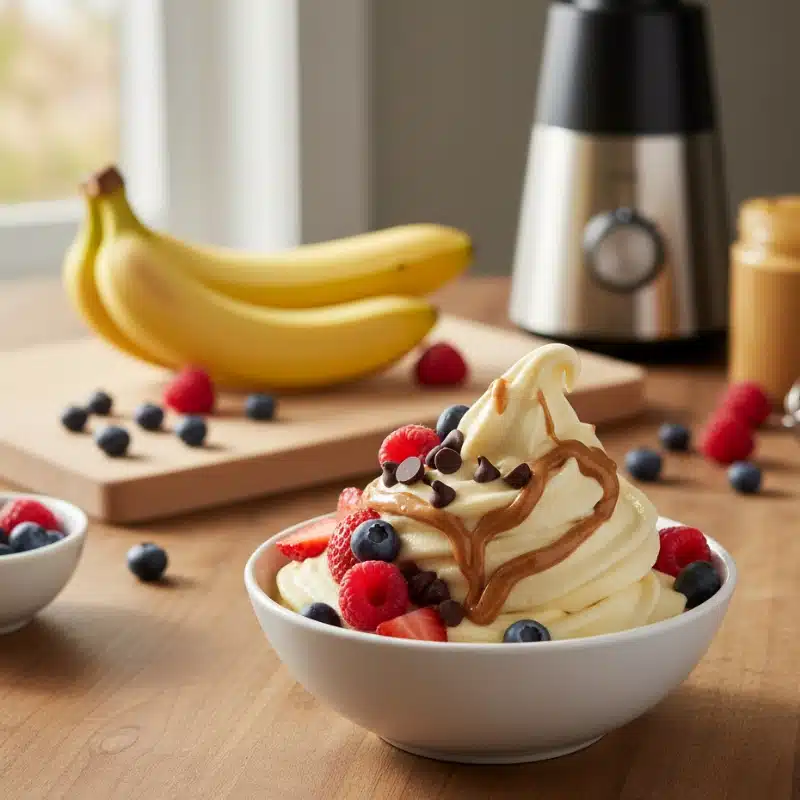
Table of Contents
Every recipe concept that earns our Tested & Approved badge goes through a rigorous evaluation against the Roz Recipes standard. We carefully analyze the ingredient synergy, verify the nutritional balance, and ensure the methodology is optimized for quick, everyday cooking. This specific combination is approved because its flavor profile is structurally sound, offering a perfect balance of taste, texture, and visual appeal designed to succeed in any home kitchen.
Quick Recipe Overview
Prep Time: 5 minutes
Cook Time: 0 minutes
Total Time: 5 minutes (plus 2+ hours freezing time)
Yield: 2 servings
Difficulty: Easy
Banana Nice Cream Ingredients
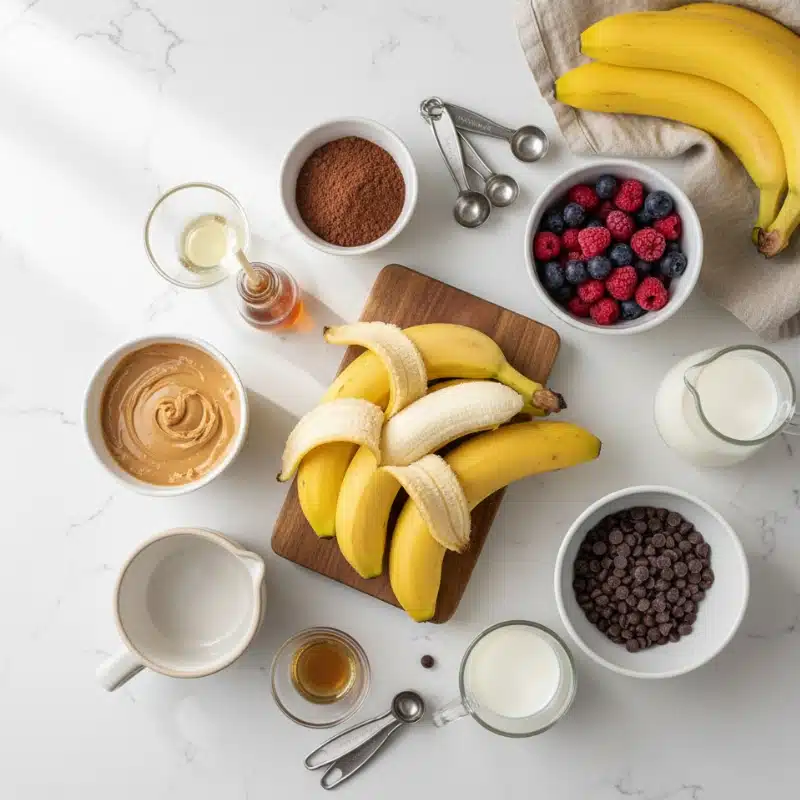
- 3 ripe bananas, peeled, sliced, and frozen
- 1-2 tablespoons milk of choice (dairy, almond, oat, or coconut)
- 1/2 teaspoon vanilla extract (optional)
Optional Mix-ins:
- 2 tablespoons cocoa powder (for chocolate version)
- 1/4 cup peanut butter or almond butter
- 1/2 cup frozen berries (strawberries, blueberries, or mixed berries)
- 2 tablespoons chocolate chips
- 1 tablespoon honey or maple syrup (for extra sweetness)
Instructions
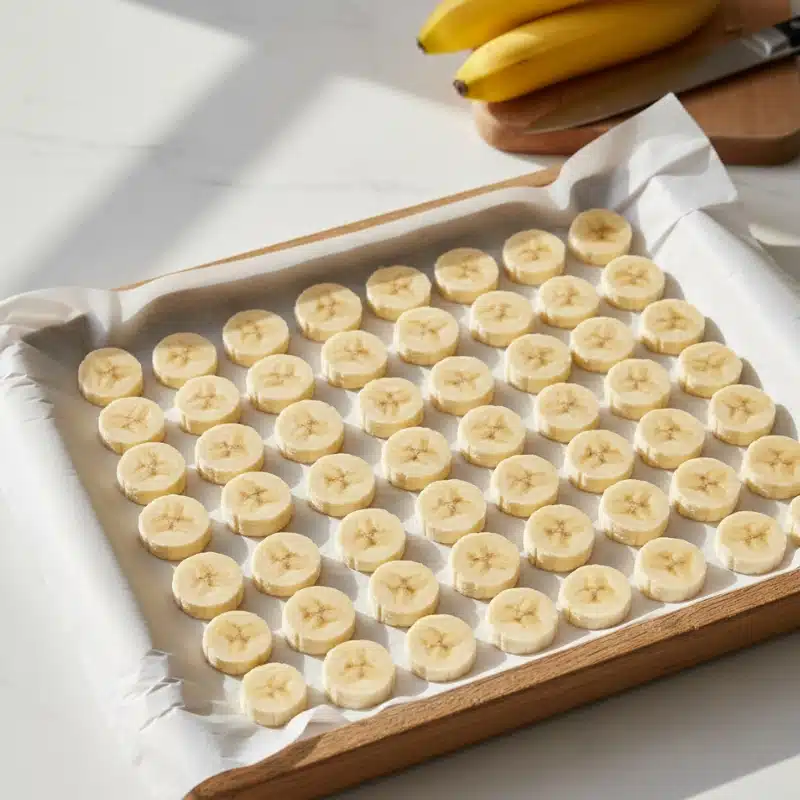
Step 1: Freeze the Bananas
Peel and slice ripe bananas into coins about 1/2-inch thick. Place them in a single layer on a parchment-lined baking sheet. Freeze for at least 2 hours or overnight until completely solid.
The Secret: Nice Cream Science 101 (The Why)
Before you blend, understand the magic! Bananas contain naturally high levels of starch and lower water content compared to most other fruits. When frozen, this starch prevents the formation of large, hard ice crystals, allowing the structure to maintain a creamy, fat-like texture that perfectly mimics soft-serve ice cream.
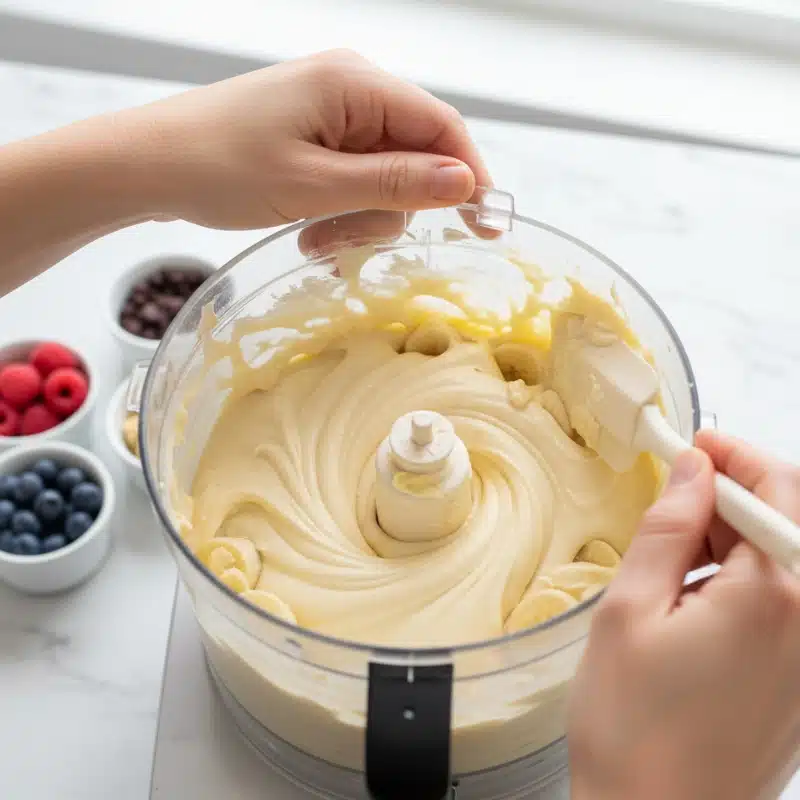
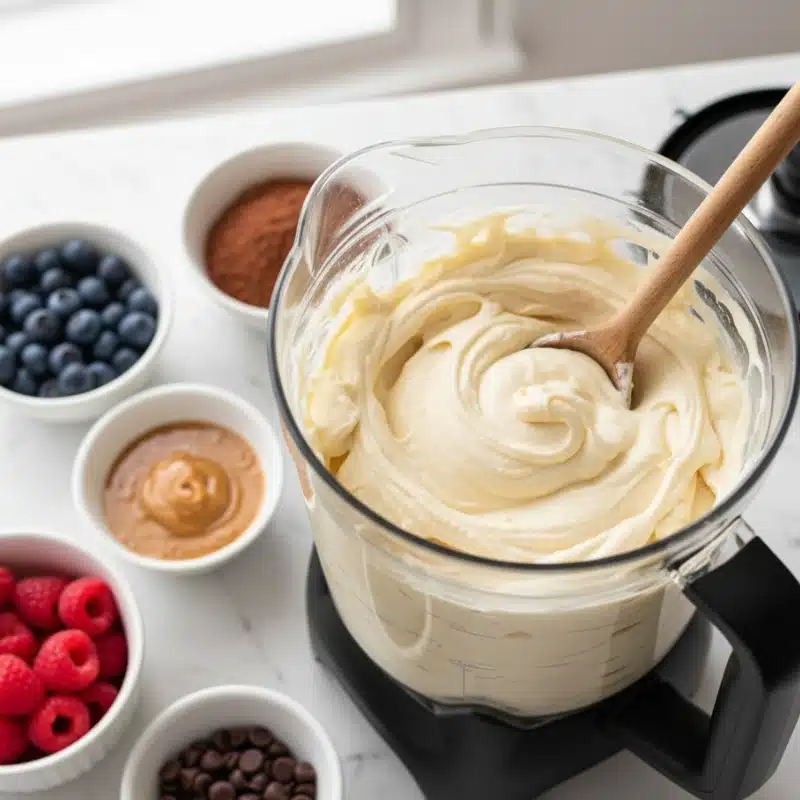
Step 2: Blend Until Creamy
Add frozen banana slices to a high-powered blender or food processor. Start blending on low speed, gradually increasing to high. The bananas will go through stages: crumbly, then clumpy, then suddenly smooth and creamy like soft-serve ice cream. This takes about 3-5 minutes.
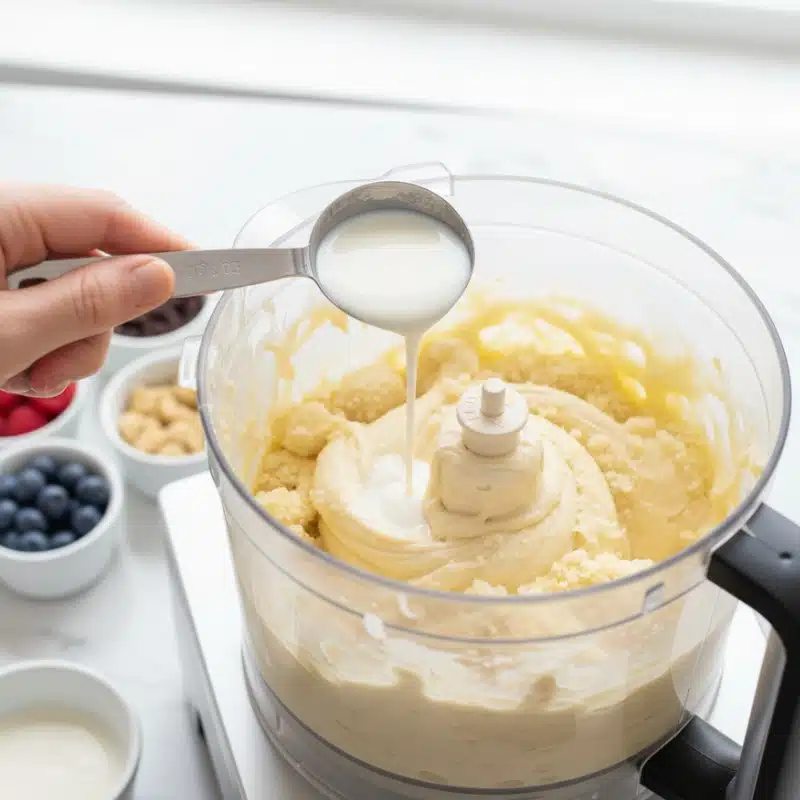
Step 3: Add Liquid as Needed
If your blender struggles or the mixture seems too thick, add milk one tablespoon at a time. Scrape down the sides of the blender between pulses to ensure even blending.
Step 4: Add Flavorings
Once the base is creamy, add vanilla extract or any optional mix-ins like cocoa powder, nut butter, or frozen berries. Blend again for 30 seconds until fully incorporated.
Step 5: Serve Immediately or Freeze
For soft-serve consistency, serve the banana nice cream immediately. For a firmer texture similar to traditional ice cream, transfer to a freezer-safe container and freeze for 30-60 minutes before scooping.
Freezer Texture Tip (The Science)
Bananas contain natural sugars that harden when frozen. Letting your nice cream rest for 5–10 minutes before scooping allows those sugars to soften, restoring creaminess.
Did you make this Banana Nice Cream? Share your experience in the comments below! And if you loved it, don’t forget to give it a rating, your feedback helps other readers (and Google!) know this recipe is worth trying.
Tips, Variations & Storage
Substitutions & Swaps:
Use spotty, overripe bananas for maximum sweetness. If you don’t have a high-powered blender, let frozen bananas sit at room temperature for 5 minutes to soften slightly before blending. For a lower-calorie version, skip added sweeteners since ripe bananas provide natural sugar.
Flavor Variations:
Create chocolate banana nice cream by adding cocoa powder and a pinch of sea salt. Make a peanut butter cup version with peanut butter and chocolate chips. Try a tropical twist with coconut milk and shredded coconut. Berry banana nice cream works beautifully with any frozen fruit combination.
Make-Ahead Advice:
Pre-slice and freeze bananas in batches so you always have them ready. Store frozen banana slices in freezer bags for up to 3 months. Once blended, banana nice cream is best enjoyed immediately for optimal texture.
Storage Tips:
Store leftover banana nice cream in an airtight container in the freezer for up to 1 week. The texture may become harder after freezing, so let it sit at room temperature for 5-10 minutes before scooping. Re-blend briefly if needed to restore creaminess.
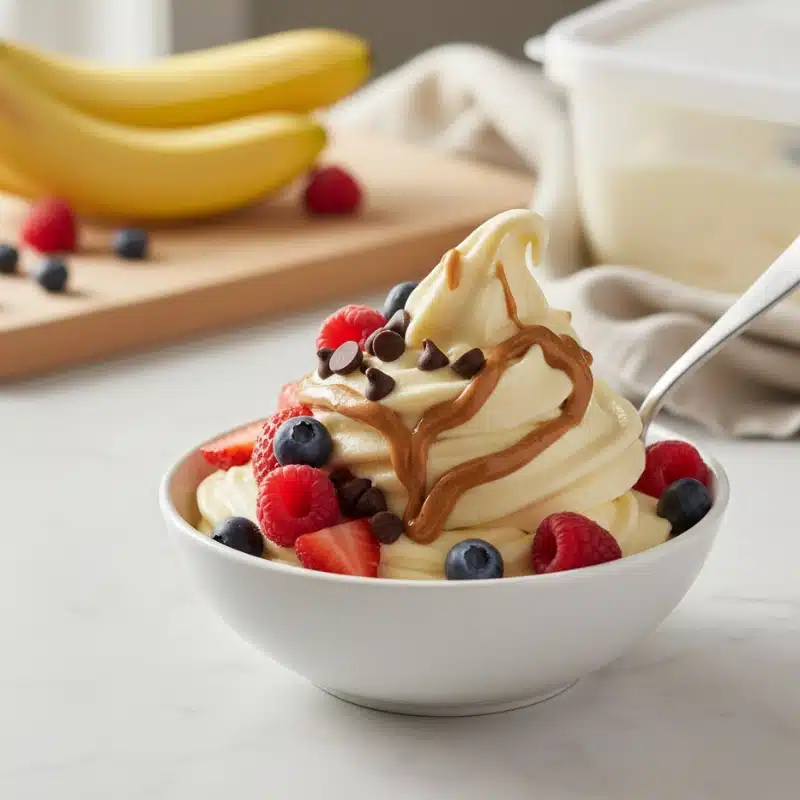
Serving & Pairing Ideas
Enjoy banana nice cream topped with toasted coconut, drizzled peanut butter, or alongside warm brownies for a hot-and-cold dessert contrast.
FAQs About banana nice cream
Can I make banana nice cream without a blender?
A high-powered blender or food processor works best but you can use a standard blender if you let the bananas soften slightly first. A regular blender may require more stopping and scraping.
Why isn’t my nice cream getting creamy?
Make sure your bananas are completely frozen and very ripe. Keep blending past the crumbly stage until it suddenly turns smooth. This can take 3-5 minutes of continuous blending.
Does banana nice cream taste like bananas?
Yes banana flavor is present since it’s the base ingredient. Adding cocoa powder, nut butter, or other strong flavors can mask the banana taste if you prefer.
Can I use fresh bananas instead of frozen?
No frozen bananas are essential for the creamy ice cream texture. Fresh bananas will create a smoothie-like consistency instead.
Is banana nice cream healthy?
Yes this is a nutritious dessert option. Bananas provide natural sweetness, potassium, fiber and vitamins. It’s dairy-free, naturally vegan, and contains no added refined sugars.
How do I prevent my banana nice cream from getting icy?
Serve immediately after blending for the smoothest texture. If storing, press plastic wrap directly onto the surface before freezing to minimize ice crystals.
Nutrition Facts
Per Serving (1/2 recipe, plain version):
Calories: 158
Protein: 2g
Carbs: 40g
Fat: 0.5g
Fiber: 5g
Sugar: 21g (naturally occurring)
Potassium: 537mg
Vitamin C: 16mg
Nutrition information is approximate and will vary based on mix-ins and toppings used.
Conclusion
This banana nice cream recipe is simple, healthy, and perfect for anyone seeking a better-for-you frozen dessert. With just frozen bananas and a blender, you can create a creamy treat that rivals traditional ice cream without the guilt. Give it a try tonight and discover why this has become our go-to healthy dessert. Let us know which flavor variation you love most!
If you enjoyed this Banana Nice Cream, please share it with friends or save it on Pinterest for later. Every share helps me keep creating simple and delicious recipes for you.
Print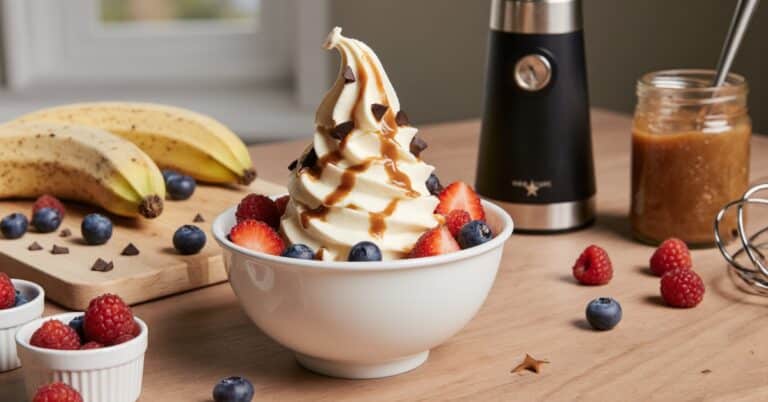
Best Banana Nice Cream – Easy 3-Ingredient Healthy Dessert
This banana nice cream recipe transforms frozen bananas into a creamy, healthy ice cream alternative in just 5 minutes. Made with only 3 simple ingredients, this naturally sweet frozen dessert is vegan, dairy-free, and contains no added refined sugars. Perfect for a guilt-free treat that tastes indulgent while providing potassium, fiber, and vitamins. The frozen bananas create an incredibly smooth, soft-serve texture that rivals traditional ice cream. Customize with cocoa powder, nut butter, or berries for endless flavor variations. This easy banana nice cream is ideal for busy families, health-conscious dessert lovers, and anyone looking for a nutritious way to satisfy ice cream cravings.
- Total Time: 5 minutes (plus 2 hours freezing time for bananas)
- Yield: 2 servings
Ingredients
- 3 ripe bananas, peeled, sliced, and frozen
- 1–2 tablespoons milk of choice (dairy, almond, oat, or coconut)
- 1/2 teaspoon vanilla extract (optional)
Optional Mix-ins:
- 2 tablespoons cocoa powder (for chocolate version)
- 1/4 cup peanut butter or almond butter
- 1/2 cup frozen berries (strawberries, blueberries, or mixed berries)
- 2 tablespoons chocolate chips
- 1 tablespoon honey or maple syrup (for extra sweetness)
Instructions
Step 1: Freeze the Bananas
Peel and slice ripe bananas into coins about 1/2-inch thick. Place them in a single layer on a parchment-lined baking sheet. Freeze for at least 2 hours or overnight until completely solid.
The Secret: Nice Cream Science 101 (The Why)
Before you blend, understand the magic! Bananas contain naturally high levels of starch and lower water content compared to most other fruits. When frozen, this starch prevents the formation of large, hard ice crystals, allowing the structure to maintain a creamy, fat-like texture that perfectly mimics soft-serve ice cream.
Step 2: Blend Until Creamy
Add frozen banana slices to a high-powered blender or food processor. Start blending on low speed, gradually increasing to high. The bananas will go through stages: crumbly, then clumpy, then suddenly smooth and creamy like soft-serve ice cream. This takes about 3-5 minutes.
Step 3: Add Liquid as Needed
If your blender struggles or the mixture seems too thick, add milk one tablespoon at a time. Scrape down the sides of the blender between pulses to ensure even blending.
Step 4: Add Flavorings
Once the base is creamy, add vanilla extract or any optional mix-ins like cocoa powder, nut butter, or frozen berries. Blend again for 30 seconds until fully incorporated.
Step 5: Serve Immediately or Freeze
For soft-serve consistency, serve the banana nice cream immediately. For a firmer texture similar to traditional ice cream, transfer to a freezer-safe container and freeze for 30-60 minutes before scooping.
Freezer Texture Tip (The Science)
Bananas contain natural sugars that harden when frozen. Letting your nice cream rest for 5–10 minutes before scooping allows those sugars to soften, restoring creaminess.
Notes
Banana Selection: Use very ripe bananas with brown spots for maximum natural sweetness. The riper the banana, the sweeter your nice cream will be without needing added sweeteners.
Freezing Tips: Freeze banana slices in a single layer first to prevent clumping. Once frozen solid, transfer to a freezer bag for longer storage (up to 3 months).
Blending Success: A high-powered blender (Vitamix, Blendtec) or food processor works best. If using a standard blender, let frozen bananas sit at room temperature for 5 minutes before blending to soften slightly.
Texture Troubleshooting: Keep blending past the crumbly stage. The mixture will suddenly transform from grainy to smooth. This takes 3-5 minutes of continuous blending. Don’t give up too early.
Storage: Store leftover banana nice cream in an airtight container in the freezer for up to 1 week. The texture hardens after freezing. Let sit at room temperature for 5-10 minutes before scooping, or re-blend briefly to restore creaminess.
Flavor Variations: Chocolate: add 2 tbsp cocoa powder + pinch of salt. Peanut Butter Cup: add 1/4 cup peanut butter + 2 tbsp chocolate chips. Berry: add 1/2 cup frozen strawberries or mixed berries. Tropical: use coconut milk + 2 tbsp shredded coconut.
Serving Suggestions: Top with chopped nuts, fresh fruit, granola, coconut flakes, or a drizzle of nut butter. Serve in waffle cones for an authentic ice cream experience.
- Prep Time: 5 minutes
- Cook Time: 0 minutes
- Category: Dessert
- Method: Blending/No-Bake
- Cuisine: American
- Diet: Vegetarian